How to Auto-Publish to Bear Blog with OpenClaw
A complete guide to using the Bear Blog Publisher skill
Introduction
Bear Blog is a privacy-focused, no-tracking blogging platform that lets you write without distractions. But what if you want to automate your publishing workflow?
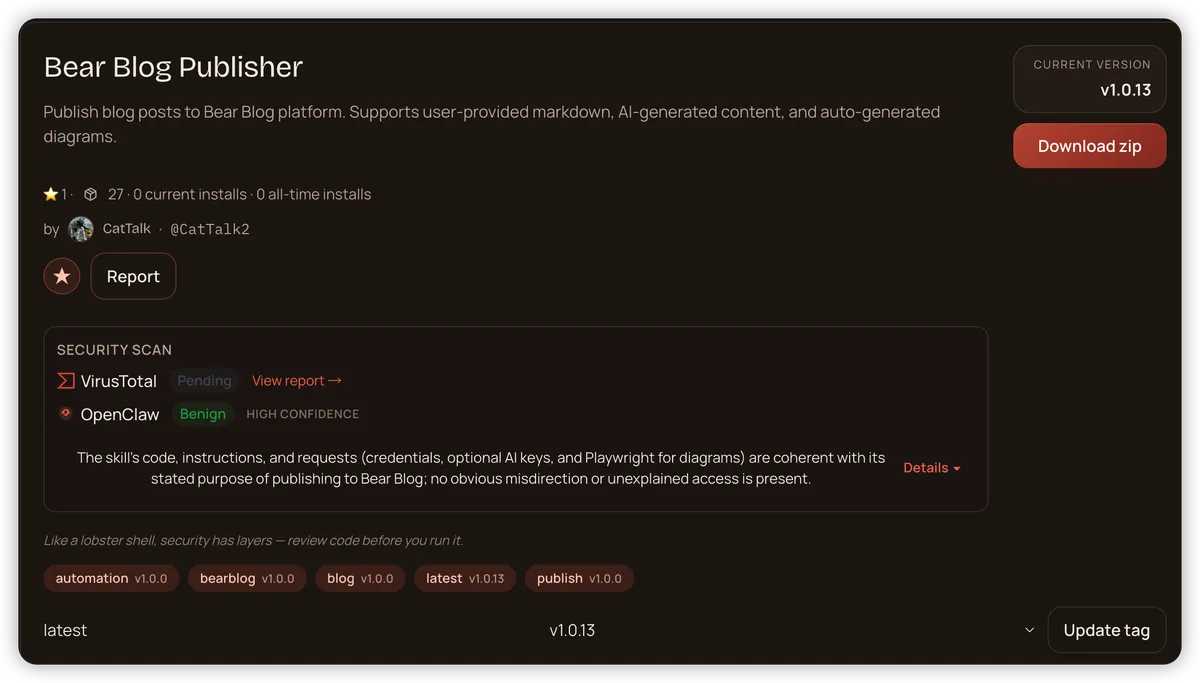
Enter Bear Blog Publisher — an OpenClaw skill that enables automatic blog publishing with optional AI content generation and diagram creation. In this guide, I'll walk you through how to set it up and share my real-world experience integrating it with Feishu (Lark) assistant.
What You'll Need
Before we begin, make sure you have:
- A Bear Blog account (free at https://bearblog.dev/)
- OpenClaw installed and configured
- (Optional) OpenAI or Kimi API key for AI content generation
Installation
Installing the skill is straightforward:
clawhub install bear-blog-publisher
This will:
- Install the Python dependencies (
requests,playwright) - Download Playwright browsers (~100MB) for diagram generation
Configuration: Three Ways to Authenticate
The skill supports three authentication methods, listed in priority order:
Method 1: Environment Variables (Recommended for CI/CD)
export BEAR_BLOG_EMAIL="your@email.com"
export BEAR_BLOG_PASSWORD="yourpassword"
export OPENAI_API_KEY="sk-..."  # Optional, for AI generation
export KIMI_API_KEY="..."       # Optional, alternative to OpenAI
Method 2: OpenClaw Config File
Edit ~/.openclaw/openclaw.json:
{
  "skills": {
    "bear-blog-publisher": {
      "email": "your@email.com",
      "password": "yourpassword"
    }
  }
}
Security tip: Set file permissions to 600:
chmod 600 ~/.openclaw/openclaw.json
Method 3: Runtime Parameters
For multi-user scenarios or chatbot integrations:
from bear_blog_publisher import BearBlogPublisher

publisher = BearBlogPublisher(
    email="your@email.com",
    password="yourpassword"
)
Usage Examples
Example 1: Publish Your Own Content
publisher = BearBlogPublisher()
result = publisher.publish(
    title="My First Auto-Published Post",
    content="# Hello World\n\nThis is my blog content in Markdown."
)
print(result['url'])  # https://bearblog.dev/username/my-first-auto-published-post/
Example 2: AI-Generated Content
publisher = BearBlogPublisher()

# Generate content with OpenAI
content = publisher.generate_content(
    topic="Python best practices for beginners",
    provider="openai",  # or "kimi"
    tone="professional",
    length="medium"  # short, medium, or long
)

# Publish the generated content
result = publisher.publish(
    title="Python Best Practices Guide",
    content=content
)
Example 3: With Auto-Generated Diagram
publisher = BearBlogPublisher()

# Generate an architecture diagram
diagram_path = BearBlogPublisher.generate_diagram(
    title="System Architecture",
    components=["Frontend", "API Gateway", "Backend", "Database"]
)

# Publish with the diagram
result = publisher.publish(
    title="Our System Architecture",
    content="Here's how our system works:",
    image_path=diagram_path
)
Real-World Integration: Feishu (Lark) Assistant
I integrated Bear Blog Publisher with Feishu (Lark) to create a seamless blogging workflow. Here's the complete process:
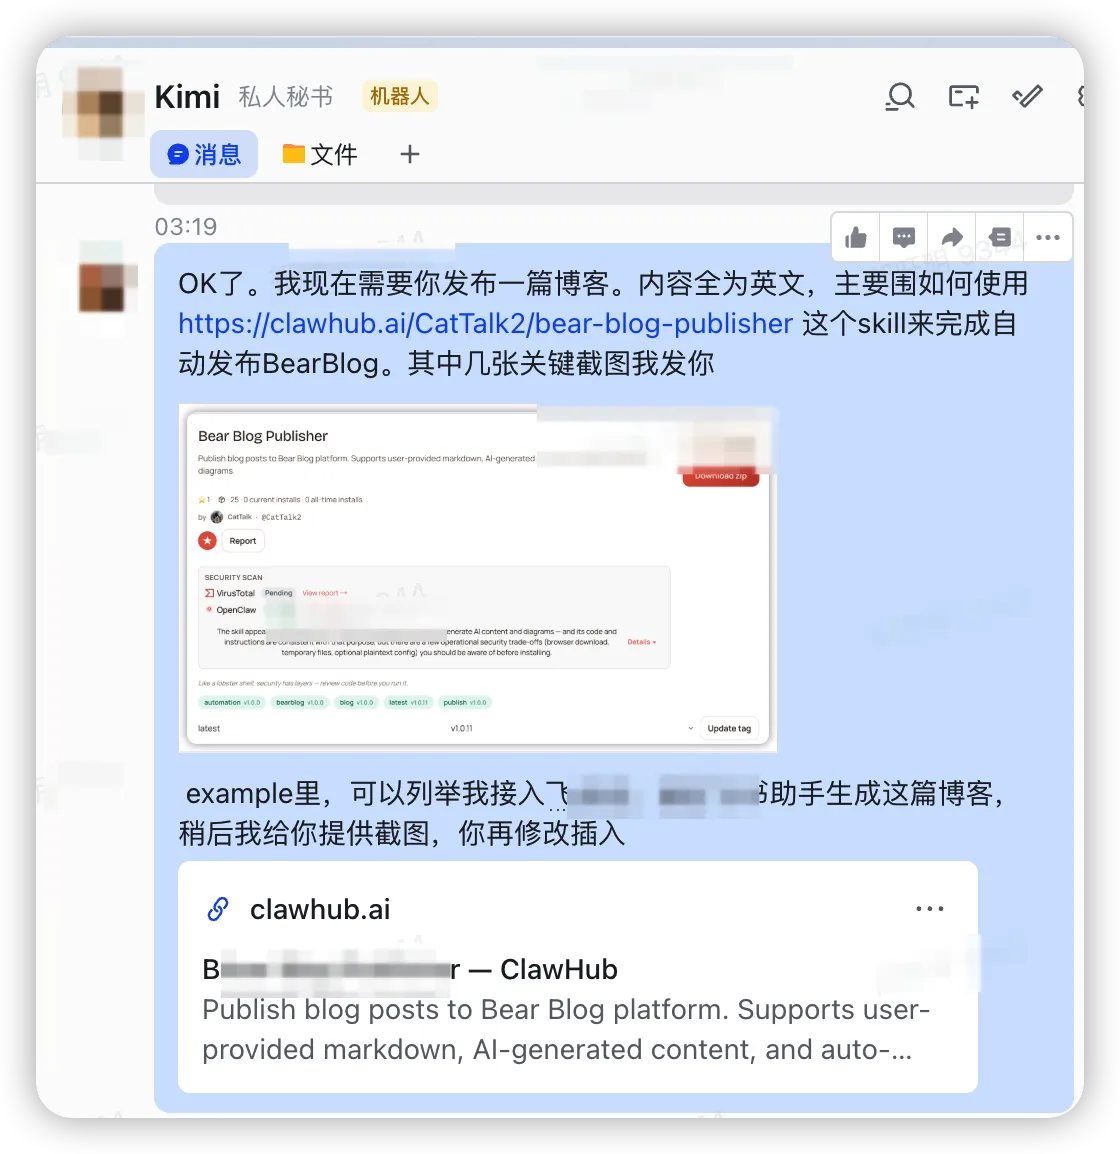
Step 1: Request a Blog Post
Simply send a message to your Feishu assistant:
Screenshot: Asking the Feishu assistant to write a blog about the Bear Blog Publisher skill
Step 2: Provide Credentials
The assistant will ask for your Bear Blog credentials to proceed:
Screenshot: The assistant requests Bear Blog email and password
Step 3: Publish Success
Once published, you'll receive confirmation:
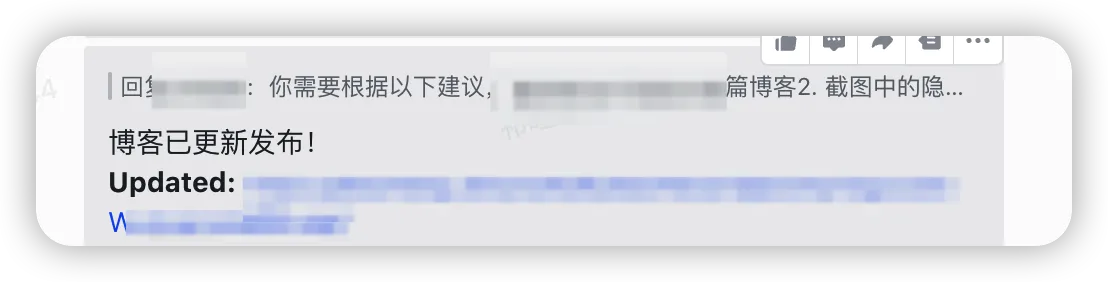
Screenshot: Confirmation message showing successful publication
Step 4: View Your Published Blog
The blog is now live on Bear Blog:
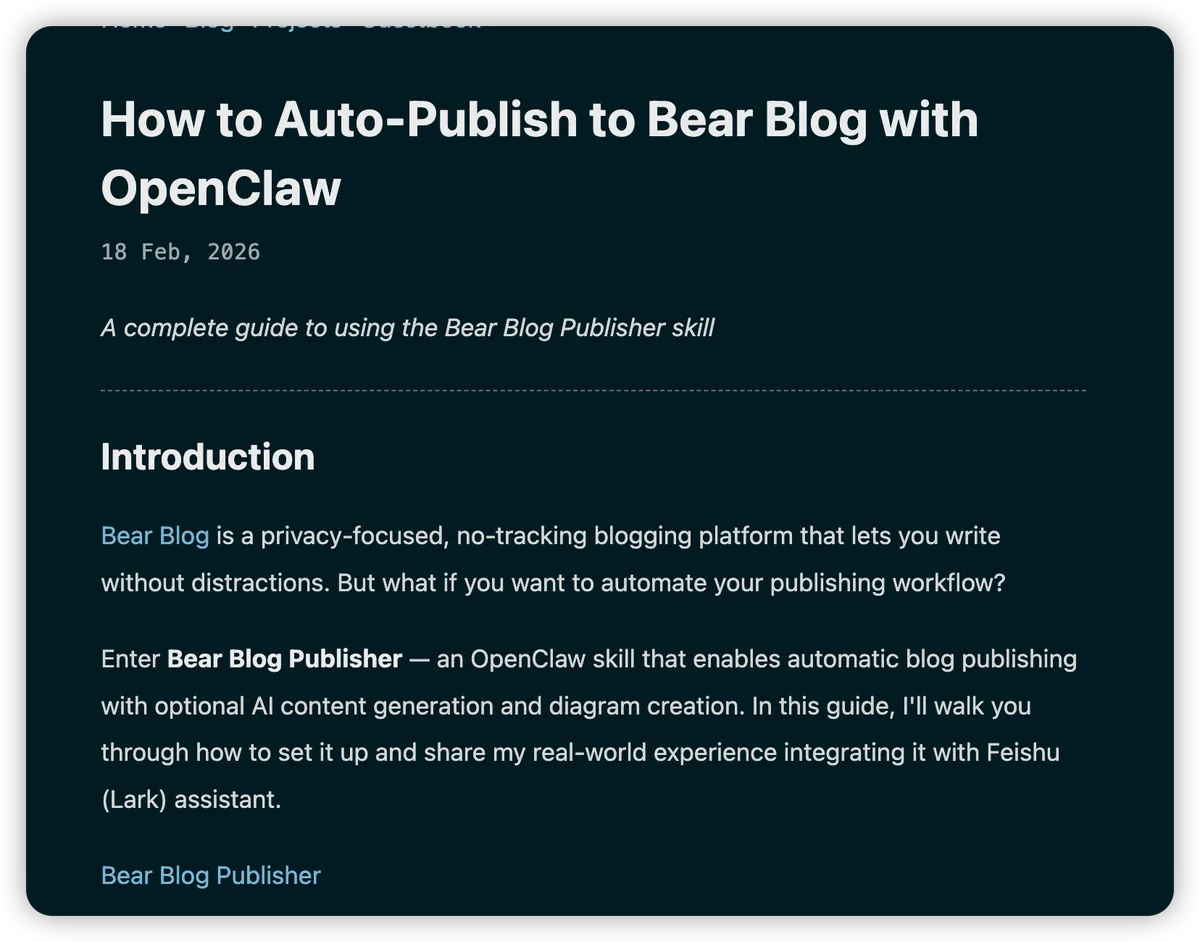
Screenshot: The final published blog post on Bear Blog
The Complete Workflow
- User sends a request via Feishu: "Write a blog about..."
- Feishu bot receives the message and forwards it to OpenClaw
- OpenClaw uses the Bear Blog Publisher skill to:
- Generate content using AI (OpenAI/Kimi)
- Create diagrams if needed
- Publish to Bear Blog
- User receives the published URL back in Feishu
Key Benefits
- No context switching: Write and publish without leaving Feishu
- AI-powered: Automatic content generation with professional quality
- Visual diagrams: Auto-generated architecture diagrams for technical posts
- Secure: Credentials managed via environment variables or runtime parameters
How to Upload Images
To include images in your blog posts:
publisher = BearBlogPublisher()

# Upload a local image
result = publisher.publish(
    title="Post with Image",
    content="Check out this diagram:",
    image_path="/path/to/your/image.png"
)

# The image will be automatically uploaded to Bear Blog's CDN
# and embedded in your post
Supported formats: PNG, JPG, GIF Max size: Check Bear Blog's current limits
Security Considerations
The skill includes several operational choices you should be aware of:
- Playwright browser download (~100MB) — Required for diagram generation
- Temporary files — Created in
/tmp/for diagram processing --no-sandboxflag — Used for container compatibility- Plaintext config option — Optional; prefer environment variables
All of these are documented and can be mitigated based on your security requirements.
Conclusion
The Bear Blog Publisher skill bridges the gap between Bear Blog's simplicity and automated publishing workflows. Whether you're a solo blogger or integrating with team communication tools like Feishu, it provides a flexible, secure way to publish content.
Get started today:
clawhub install bear-blog-publisher
Questions or feedback? Visit the skill page or open an issue on GitHub.
Happy blogging! 📝